


There’s something about a tie-dyed tee that makes people smile. They’re bright, attention-grabbing and reminiscent of an era rooted in optimism and good times. Creating a tie-dyed tee is also a great way to keep your kids occupied for hours.
This tutorial will show you how to dye fabric using a wonderful homemade dye that won’t harm your kids or the environment – steeped tea! So, it turns out that tea really is the answer to everything.
We played around with different blends to see which steep the best colours and how much you need to achieve a particular colour, but feel free to do your own experimenting. We offer over 100 different teas, so your options are pretty much endless. Grab your kids, a couple of old white t-shirts and let’s get started.
WHAT YOU NEED
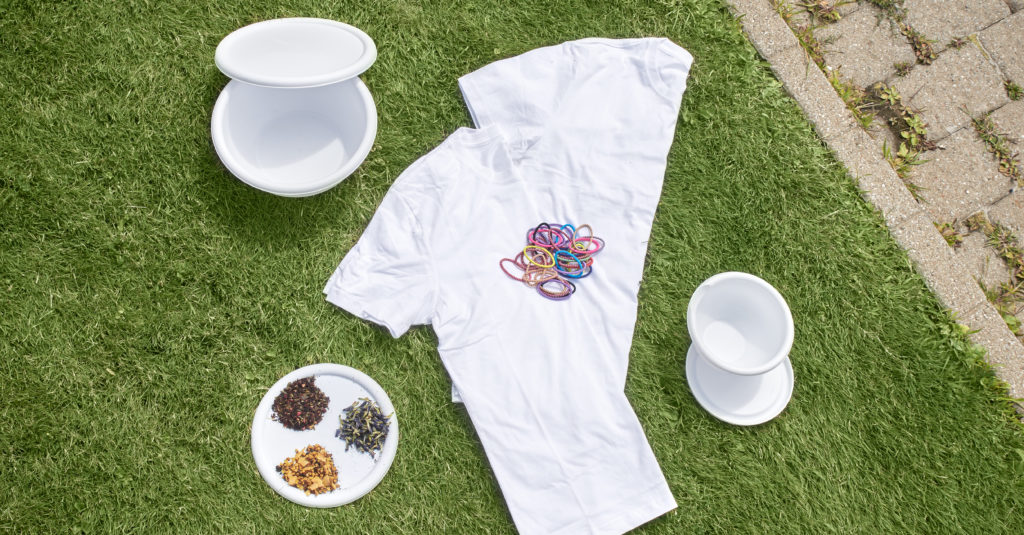
- 100% cotton t-shirts
- Rubber bands
- Containers with lids (1 for each colour)
- Tea
STEP 1: CHOOSE YOUR COLOURS/TEAS
These are just examples of what we used to create the designs you see in the photos. You’re invited to experiment using teas you have on hand in your tea cupboard.
Butterfly Pea Flowers = royal blue
Coco Mango Chai [= yellow
Organic Queen of Tarts = magenta
STEP 2: PREPARE YOUR TEA
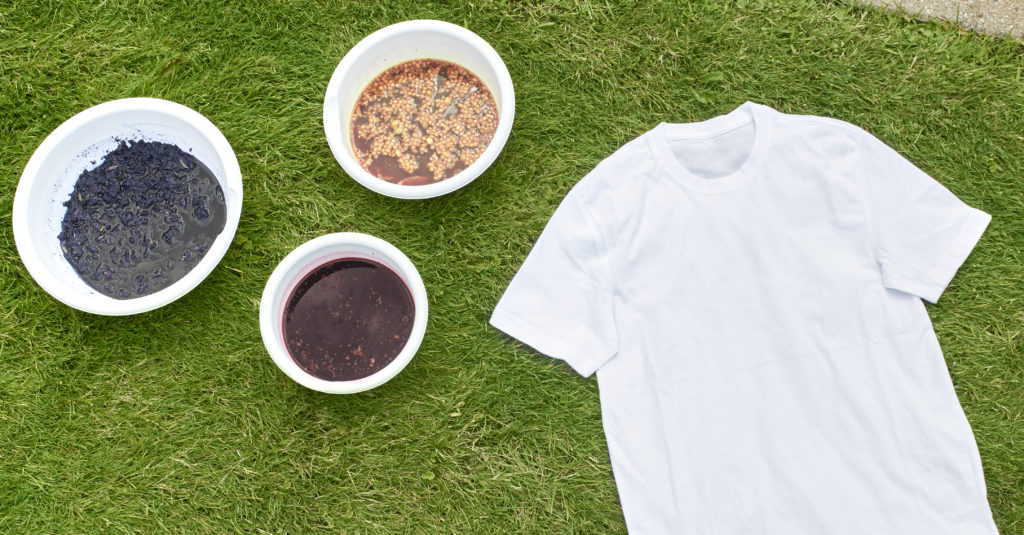
Bring 5 cups of water to a boil, pour into a container and steep tea. Repeat for each tea (if dyeing more than one colour).
Tip: Your container should be medium or small in size so that the water fully covers the shirt.
Butterfly Pea Flowers (royal blue): 25 g
Organic Queen of Tarts (pink): 70 g
Coco Mango Chai (yellow): 180 g
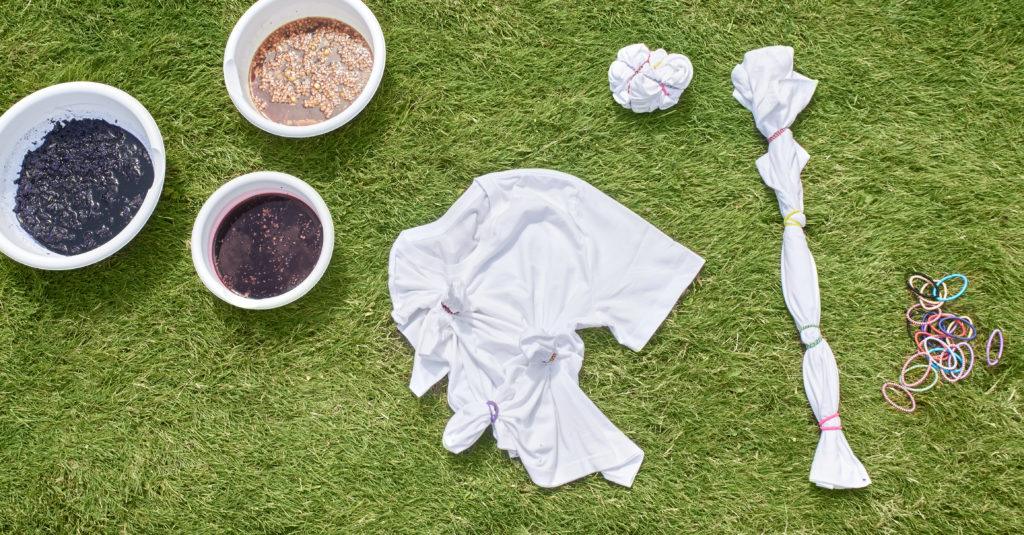
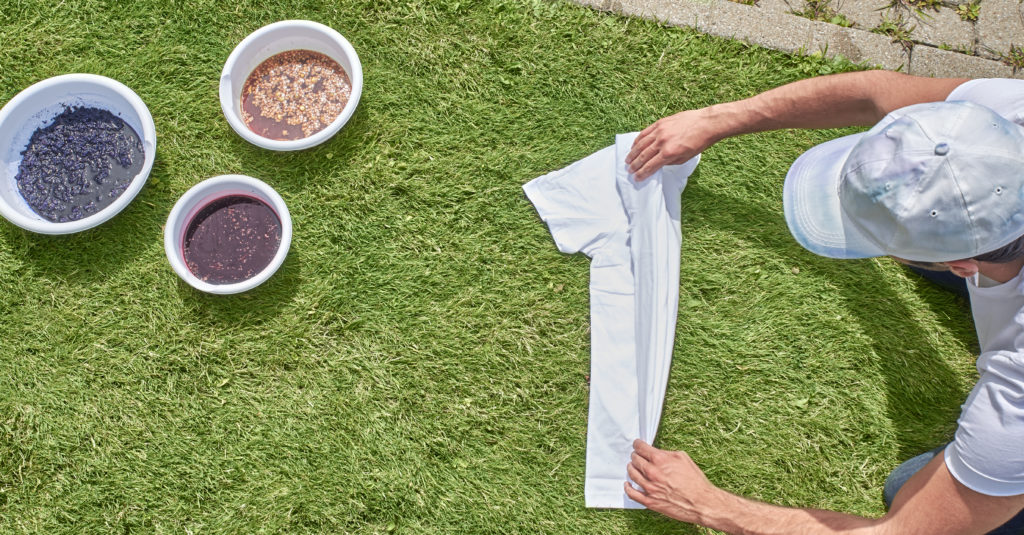
STEP 3: SOAK YOUR TEE & CHOOSE DYE PATTERN
Before you do anything else, soak your t-shirt in hot water, wring out the excess water and lay it flat before creating your design.
Spirals, circles, stripes and blotchy are among your typical tie-dye patterns. You can dye your t-shirt using one pattern, all the patterns or find a happy medium somewhere in between.
Spiral: Pick a location on your shirt, pinch it, and start twisting in one direction until the shirt is tightly wound. Then wrap it TIGHTLY with elastics. If the elastics aren’t tied TIGHT, the tie-dye effect will not be as strong.

Circles: To create the circles seen in the photo, pick locations on the shirt, pinch them upwards, and tie an elastic tightly around them. The bigger the “ball” you create when doing so, the bigger the circle will be.
Stripes: Fold your shirt like you would if you were making a fan. So, if you were starting from the bottom, you would fold a little rectangle upwards, and then another one downwards, until the shirt looks like a little stack. If you do it horizontally, you’ll get horizontal stripes, and you’ll get vertical stripes if you fold vertically. Then, tie elastics around the entire shirt (as seen in photo) to keep the shape of the stack/fan.
Blotchy: Bunch your shirt up in no particular fashion, and wrap a bunch of elastics around it as tightly as possible for random blotches of colour.
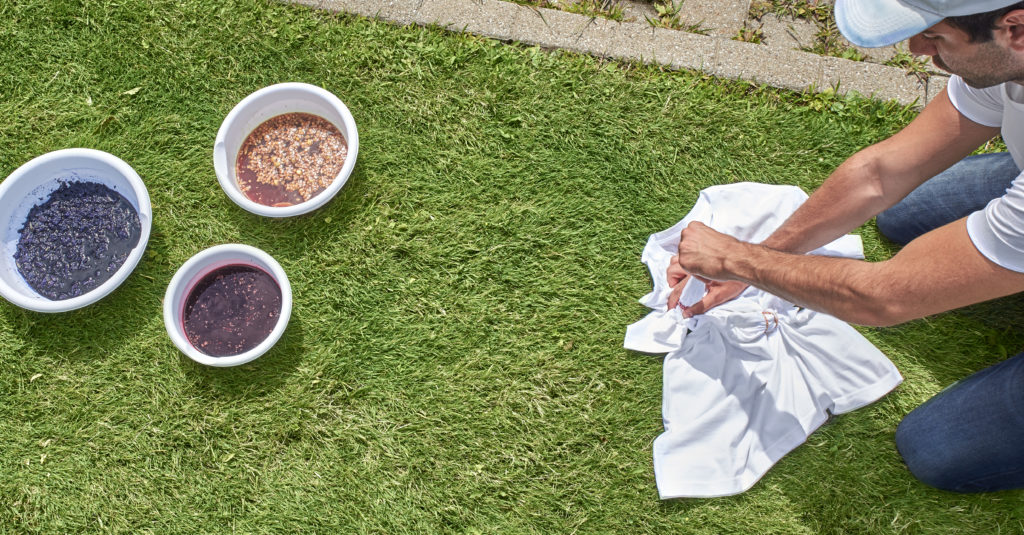
STEP 4: SOAK SHIRTS IN TEA
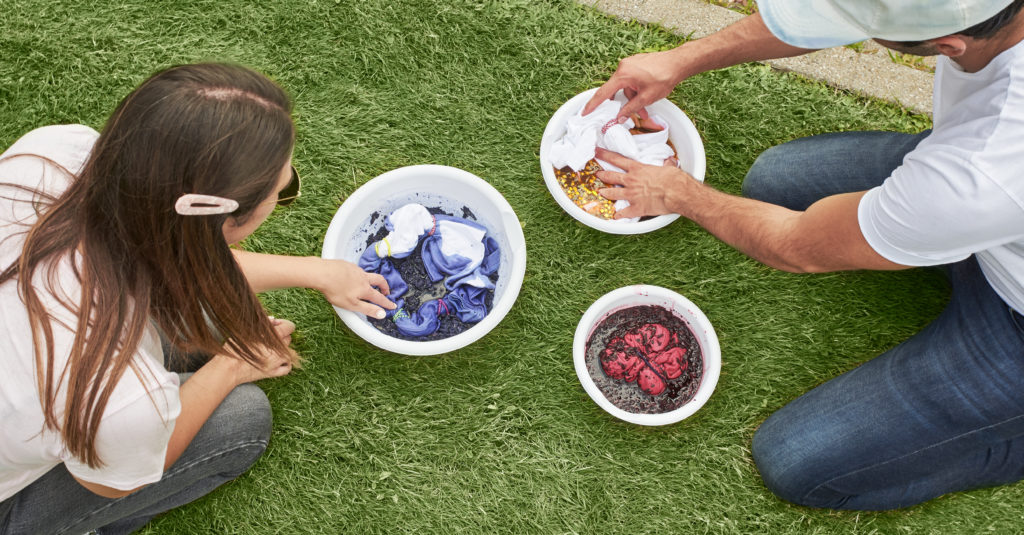
Once the shirt is tied, submerge the entire thing in the tea and leave it for 3-6 hours. The longer you soak, the more intense your colour will be.
Tip: If you’re into it, you can tea-dye your shirt with two different blends/colours. Submerge half of the t-shirt in one colour for 3-6 hours and the other half in another colour for 3-6 hours. Start with the lightest colour and go from there.
STEP 5: REMOVE TEES FROM TEA
Take the fabric out of the tea and let sit for 3-6 hours. The longer you let it sit, the better.
Tip: Want to turn your Butterfly Pea Flower tea purple? Pour some lemon juice over it.
STEP 6: REMOVE ELASTICS AND RINSE WITH WATER
And now for the final reveal. Undo the elastics or cut them off and rinse your reborn tee with water.
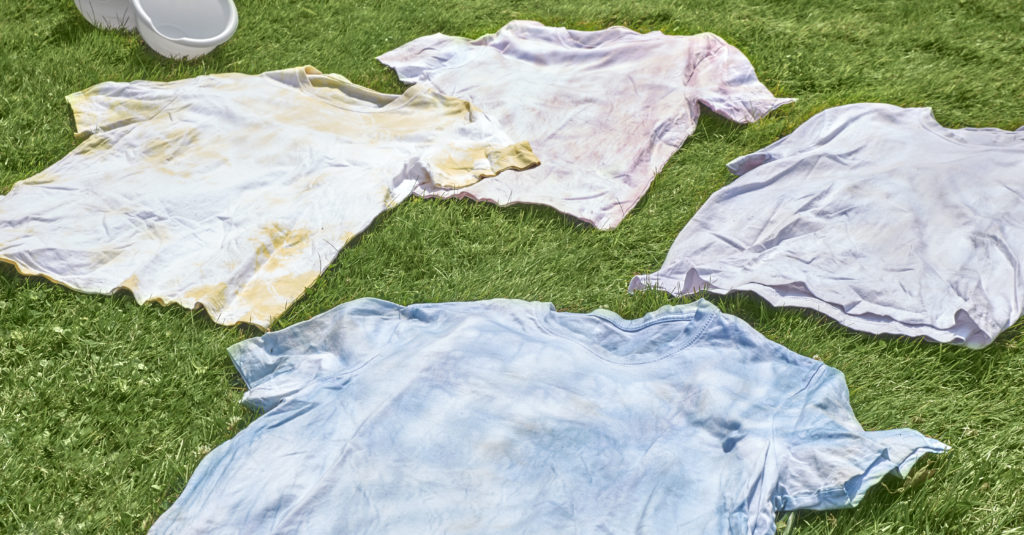
STEP 7: LET DRY
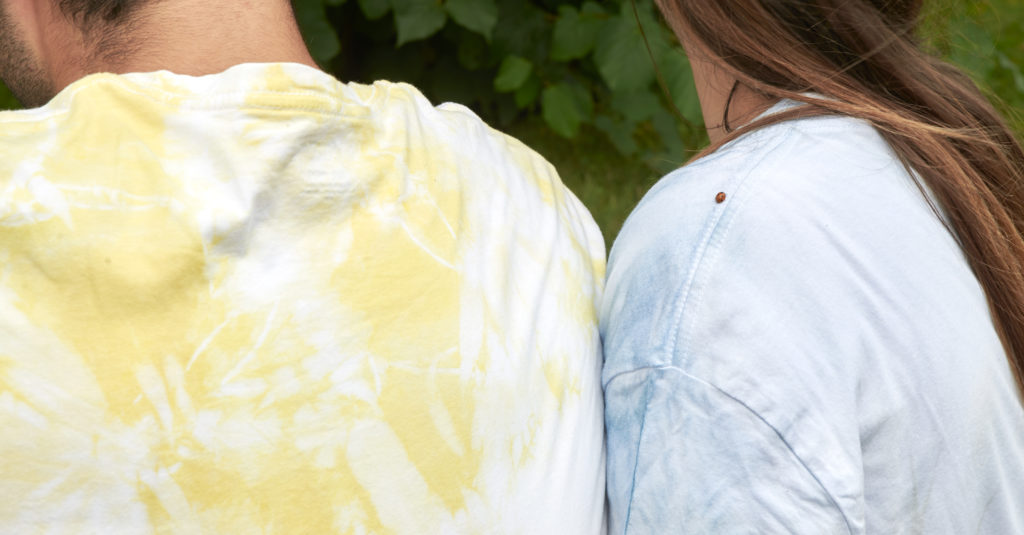
Once your shirt is fully dry, flaunt that design and let your creative side shine bright. Well done, you!
Washing instructions: Hand wash only. Washing in a machine will cause tea dye to fade.

